TO Carve the Perfect Pumpkin With These 8 Tips

When Halloween comes, most of us will come up with our art skills (novice) and try to create our own pumpkin masterpieces. It’s not easy. These expert sculptures will make your gourd look and smell great. If you’re still looking for inspiration, check out our best pumpkin carving ideas.
1. Good carving starts with the right pumpkin. Choose a fresh, sturdy stem, no bruises, and flat soles so it won’t roll.
2. as you carve. Cut the lid at an angle, not straight up and down. This way, when you change the pumpkin, the lid won’t fall into the pumpkin. A bone knife is best for this.
3.Dig out all the flesh-and then you can buy a special claw, but an ice cream scoop will do. 4.Thin the inner wall of the face to a quarter of an inch thick, making it easier to penetrate the shell. Put the pumpkin in your closet. When you look up, it’s easier to carve out your features. Don’t cut best on sloping cleanup and down slicing. To do complex design, try using a small saw.
5.Free yourself from creative building blocks by buying a pumpkin carving tool, plus a marker, scraper, cutting tool and pattern. Use your scrap creatively. For example, make tongue, pipe or hair attachment.
6. Keep your pumpkin fresh. Apply oil jelly on the edge to seal the water. If your pumpkin shrinks after a few days, you can soak it in cold water for 8 hours to get it back to normal.
7.Create a chimera. First, when the candle burns, open the lid for a few minutes. Then open a small hole where the lid blackens. Or, save the pressure and switch to a battery operated stereo.
8. Sprinkle a little cinnamon on the lid. When you light a candle, your Jack lantern smells like pumpkin pie. 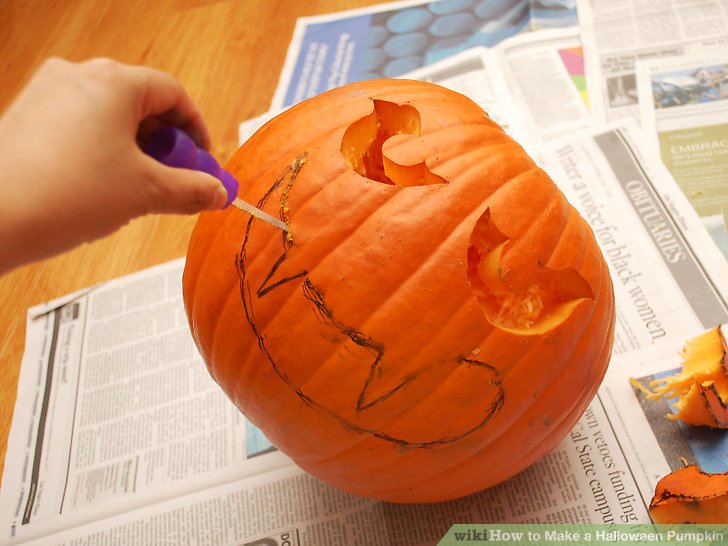
You May Also Like

Shop a Bodycon Dress to Get an Upgrade Look

Five Must Have Neutral Accessories for Summer
